How To Strip Wallpaper To Prepare For Redecorating?
So How Do I Do It? Help is here.
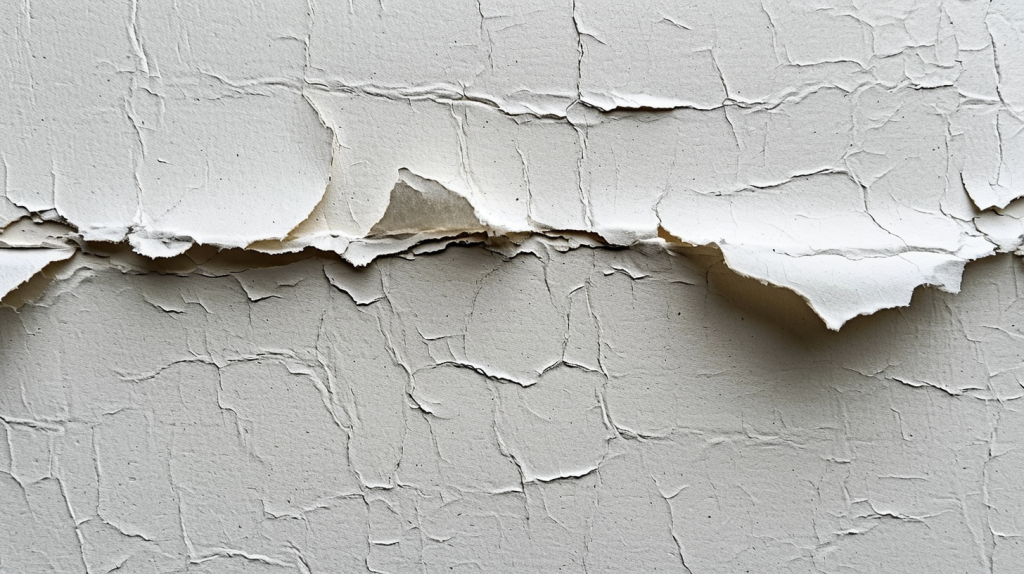
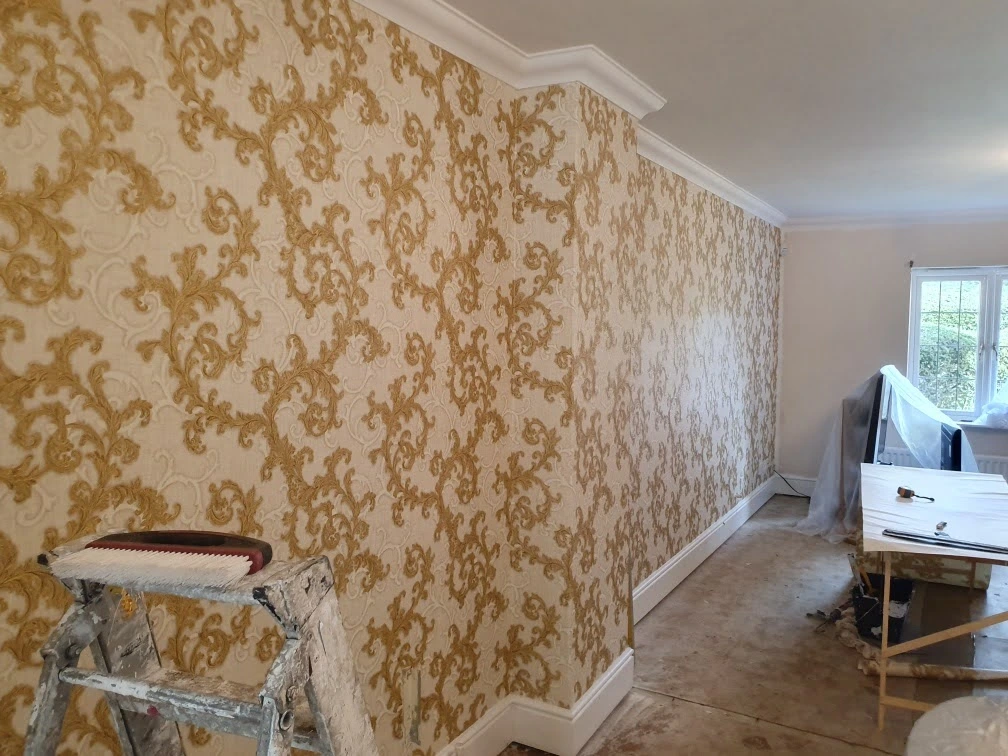
Stripping wallpaper is often the first step in a redecoration project, and while it might seem daunting, it’s a task that can be tackled with the right tools and techniques. Whether you’re planning to paint or apply new wallpaper, properly removing the old wallpaper is essential for achieving a smooth and professional finish. In this guide, we’ll walk you through the process of how to strip wallpaper effectively, so you can prepare your walls for redecorating.
Why Proper Wallpaper Removal Matters
Before diving into the steps, it’s important to understand why proper wallpaper removal is crucial:
- Smooth Surface Preparation: Removing wallpaper ensures that your walls are free of any bumps or texture that could affect the finish of your new paint or wallpaper.
- Better Adhesion: Properly stripped walls provide a clean surface for new paint or wallpaper, ensuring better adhesion and a longer-lasting finish.
- Avoiding Future Problems: If wallpaper is not removed correctly, it can lead to issues like peeling or bubbling of new wallpaper or paint, which can be costly and time-consuming to fix.

Tools and Materials You’ll Need
Before you begin, gather the following tools and materials:
- Wallpaper stripper solution or white vinegar and water mix
- Scoring tool
- Scraper or putty knife
- Sponge or cloth
- Bucket of warm water
- Drop cloths or plastic sheeting
- Painter’s tape
- Steamer (optional, for stubborn wallpaper)

Step-by-Step Guide to Stripping Wallpaper
Use this video as a visual guidance of removing wallpaper!
1. Prepare the Room
Start by preparing the room. Move furniture away from the walls and cover the floors with drop cloths or plastic sheeting to protect them from water and debris. Use painter’s tape to secure the coverings in place. If you’re working around electrical outlets or light switches, make sure to turn off the power and remove any covers.
2. Score the Wallpaper
Use a scoring tool to create small holes in the wallpaper. This allows the wallpaper stripper solution to penetrate and loosen the adhesive underneath. Work in small sections and be gentle to avoid damaging the wall beneath.
3. Apply the Wallpaper Stripper Solution
Mix the wallpaper stripper solution according to the manufacturer’s instructions, or create a homemade solution by mixing equal parts white vinegar and warm water. Using a sponge or cloth, apply the solution to the scored wallpaper, soaking it thoroughly. Allow it to sit for 10-15 minutes to soften the adhesive.
4. Start Stripping the Wallpaper
Once the solution has soaked in, begin stripping the wallpaper using a scraper or putty knife. Start at the bottom of the wall and work your way up, gently lifting the wallpaper away from the wall. Be careful not to gouge the wall with the scraper. If the wallpaper is stubborn, apply more solution and let it soak longer, or consider using a wallpaper steamer.
5. Remove Remaining Adhesive
After the wallpaper has been removed, there may be some adhesive residue left on the wall. Use a sponge or cloth with warm water to wipe down the walls and remove any remaining adhesive. For stubborn adhesive, a mixture of warm water and a small amount of dish soap can be effective.
6. Clean and Smooth the Walls
Once all the wallpaper and adhesive are removed, wipe down the walls with clean water to remove any remaining residue. Allow the walls to dry completely. After drying, inspect the walls for any imperfections or damage caused during the stripping process. Fill any holes or cracks with a suitable filler and sand smooth once dry.

Tips for a Successful Wallpaper Removal
- Test a Small Area First: Before tackling an entire room, test your wallpaper removal method on a small section of the wall to see how easily the wallpaper comes off.
- Work in Sections: Focus on one small section at a time rather than trying to strip all the wallpaper in one go. This ensures the stripper solution doesn’t dry out before you have a chance to remove the paper.
- Use a Steamer for Tough Jobs: If you encounter particularly stubborn wallpaper, a wallpaper steamer can make the job easier by loosening the adhesive with heat.
Ready to Redecorate?
Stripping wallpaper is an essential step in preparing your walls for a fresh new look. Once your walls are clean and smooth, you’re ready to start the redecorating process, whether that’s painting, applying new wallpaper, or adding decorative finishes.

At A-Z Decorators, we offer professional decorating services to help you achieve the perfect finish for your home. From wallpaper removal to painting and custom wall treatments, our experienced team is here to make your redecorating project a success. Contact us today to schedule a consultation and learn how we can assist with your next project.
For more decorating tips and inspiration, check out our blog on How to Add value to your home by painting and decorating and explore our guide on How Do Painters and Decorators Prepare Surfaces?.
