What’s the Proper Order for Painting a Room?
Okay, So What is the “Proper” order for painting a room?
When it comes to painting a room, following the right order of steps can make a huge difference in the final result. Not only does this approach save time and reduce mess, but it also ensures a professional-looking finish. In this blog, we’ll walk you through the proper order for painting a room, helping you achieve a flawless result with minimal hassle.
1. Prepare the Room
Before you even pick up a paintbrush, preparation is key. Proper prep work ensures the surfaces are ready for paint and that your belongings stay protected.
- Remove or Cover Furniture: Move as much furniture out of the room as possible. For larger items that can’t be removed, cover them with plastic sheeting or drop cloths to protect them from paint splatters.
- Protect the Floors: Lay down drop cloths or plastic sheeting to protect your floors from paint drips and spills.
- Tape Off Areas: Use painter’s tape to protect the edges of windows, door frames, light switches, and electrical outlets. This creates clean lines and prevents unwanted paint smudges on these areas.
2. Clean the Walls
Cleaning the walls is a crucial step that many overlook when painting a room. Dust, dirt, and grease can prevent the paint from adhering properly.
- Wash the Walls: Use a damp cloth or sponge with mild detergent to clean the walls, especially in high-traffic areas like kitchens or bathrooms where grease or grime may build up.
- Allow to Dry: Make sure the walls are completely dry before moving on to the next step.
3. Repair and Prime the Surfaces
Before applying any paint, it’s essential to make sure the walls are smooth and even.
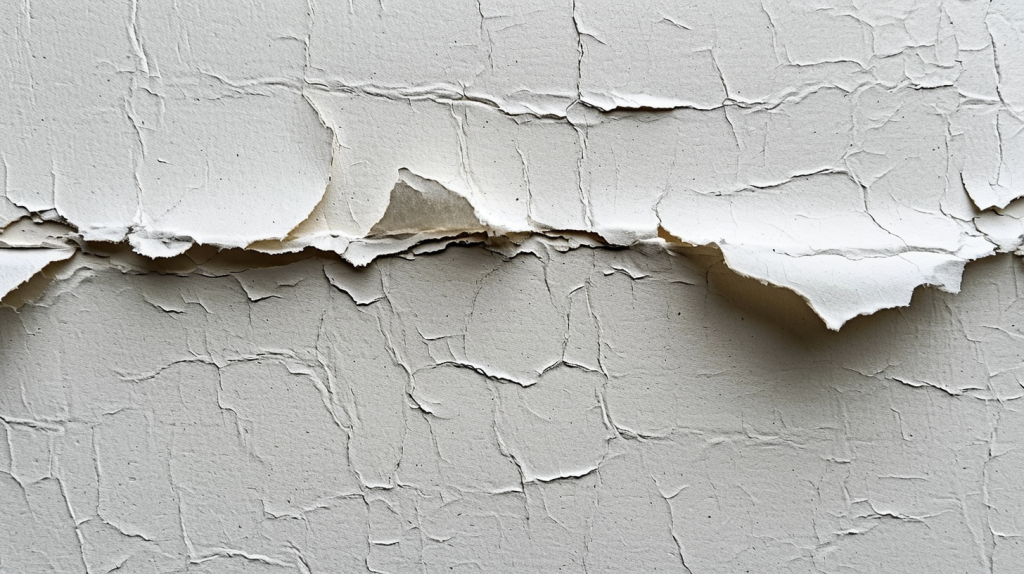
- Fill in Cracks and Holes: Use a filler or spackling paste to fill in any small cracks, holes, or imperfections on the walls. Sand them smooth once dry.
- Sand the Surfaces: Lightly sand any rough spots or patched areas to ensure a smooth surface for painting.
- Apply Primer: If you’re painting over a dark colour, applying a primer can help ensure better coverage with fewer coats of paint. Primer also helps paint adhere better, especially if you’re working with new drywall or patched areas.

4. Start with the Ceiling
When it comes to the order of painting a room, always start with the ceiling. This way, any drips or splatters that fall onto the walls will be covered when you paint the walls later.
- Cut In Around the Edges: Use a brush to paint the edges of the ceiling where it meets the walls. This technique, known as “cutting in,” ensures clean lines.
- Roll the Ceiling: Once the edges are complete, use a roller to paint the rest of the ceiling. Work in sections, using a “W” or “M” pattern to ensure even coverage.
5. Paint the Walls
Once the ceiling is dry, move on to the walls.
- Cut In Along the Edges: Just like with the ceiling, start by cutting in along the edges of the walls, focusing on areas where the walls meet the ceiling, corners, and around windows and doors.
- Roll the Walls: After cutting in, use a roller to apply paint to the larger wall areas. Again, use a “W” or “M” pattern to ensure smooth and even coverage.

6. Paint the Trim
After the walls are dry, the next step is to paint the trim. This includes baseboards, window frames, and door frames.
- Use Painter’s Tape: If necessary, use painter’s tape to protect the walls while painting the trim.
- Apply Paint with a Brush: Trim requires more precision, so use a small angled brush to apply the paint carefully. Depending on the condition of the trim, you may need to apply two coats for full coverage.
7. Clean Up and Touch Up
Once the paint is dry, it’s time for the final clean-up and touch-ups.
- Remove Painter’s Tape: Gently remove any painter’s tape before the paint fully dries to avoid peeling off any of the fresh paint.
- Touch Up Small Areas: Inspect the room for any areas that need touch-ups. Use a small brush to fix any imperfections or areas where the paint may have missed.
Why the Proper Order Matters
Following the correct order when painting a room ensures a smooth, professional finish. Painting the ceiling first allows you to cover any splatters on the walls, while saving the trim for last prevents you from accidentally smudging fresh wall paint. This method not only saves you time but also results in a cleaner, more polished appearance.
Conclusion
When you’re painting a room, following the right steps and working in the proper order ensures the best results. Start with thorough preparation, and work from the ceiling down to the trim for a clean, professional finish. Taking the time to do it right will leave your space looking refreshed and beautiful.
If you need help with your next painting project, A-Z Decorators is here to provide expert services. Our team of professionals can guide you through the process or handle the job from start to finish. Contact us today to learn more about our painting services and how we can help transform your home. For more tips and advice, check out our blog on how much is a paint and decorator? and read about is painting and decorating a trade?.
