Best Way To Paint Doors
The best way to paint doors is to prepare the surface properly, remove the door furniture, and apply two or more thin coats of a durable trim paint rather than one thick one, always laying off in the direction of the grain. On a panel door the order matters as much as the technique. Paint the recessed panels and their mouldings first, then the horizontal rails and any central bars, and finish with the long vertical stiles, keeping a wet edge throughout so the sections blend before they dry.
Most doors that end up looking amateurish were let down at one of two points, the preparation or the paint being laid on too thick. A door is handled constantly, sits at eye level, and catches light from the side, so every run, brush mark and missed patch shows. A smooth, hard-wearing finish is entirely achievable at home with patience, but it rewards doing the unglamorous steps properly. Our team has been decorating across Kent for over 30 years, and doors are one of the clearest tells of whether a job was rushed.
Remove The Door Or Paint It Hung
The first decision is whether to take the door off its hinges and lay it flat or paint it in place.
In our experience, painting a door on its hinges works better than removing it for the majority of interior repaints because you can finish both faces and all four edges in one session without the door sitting around wet somewhere, and a correctly loaded brush laid off vertically leaves no runs, so the labour of taking the door off and rehanging it rarely earns its place. Removing the door and laying it flat comes into its own when you want the very smoothest possible finish, because paint levels out under gravity on a horizontal surface and runs are almost impossible. The trade-off is that you can only paint one face at a time, you need somewhere clean to lay it while it dries, and the door is out of action for longer.
For most people repainting internal doors, painting them hung is the practical choice. If you do lay a door flat, support it on two trestles or blocks so air can reach the edges.
Preparation Is Where The Finish Is Made
Whatever you decide, the preparation is the part that determines how the door looks when it is finished.
Start by taking off the handle, latch plate and any other door furniture. Painting up to and around a handle never looks as clean as painting a door with the furniture removed, and it takes only a few minutes. Then clean the whole door, paying particular attention to the area around the handle where years of hand grease build up, because paint will not bond to a greasy surface. Sugar soap and a rinse deals with this.
Next, key the surface. A previously glossed door needs sanding to dull the sheen so the new paint has something to grip, and any dents or chips should be filled and sanded flush. Bare timber needs knotting solution over any knots and a coat of primer, and an MDF door needs a proper MDF primer because the cut edges drink ordinary paint. If you are simply painting over old paintwork that is sound, a thorough sand and clean is usually enough, but anything flaking has to come back to a stable surface first.
One safety point on older doors. Paint made before 1992 may contain lead, so if you are sanding back old paintwork on a period door, wet sanding rather than dry sanding and following the relevant guidance keeps the dust down and is the sensible approach.
Finally, wipe the door down to remove all dust before you open the paint. A tack cloth is ideal.
The Order To Paint A Panel Door
A panel door has to be painted in a sequence, or the sections dry at different times and show as lap marks.
Work top to bottom and follow the joinery. Paint the recessed panels first, including the mouldings around them, brushing the paint out of the corners so it does not pool. Then paint the horizontal rails, the top, middle and bottom cross pieces, and any central vertical bar between the panels. Paint the two long outer verticals, the stiles, last. Laying off each section in the direction of the grain, and doing the stiles last so their strokes run cleanly from top to bottom, gives the most even result.
We’ve found the single most common reason a home-painted door looks amateurish is a run or a build-up of paint in the corners of the panel mouldings, where paint collects and is not brushed out. Keeping the brush lightly loaded around the mouldings and working the paint out of the recesses prevents it.
Flush Doors
A flush door, the flat kind with no panels, is more straightforward but less forgiving of a slow pace, because there is nowhere for a lap mark to hide on a large flat face.
Work quickly across the whole face, painting in manageable sections and keeping the leading edge wet, then lay the whole face off with light strokes in a single direction before it starts to dry. A small foam or mohair roller can speed up covering the face, laid off immediately with a brush to remove the roller texture. The key is to complete the whole face while it is still wet rather than stopping halfway.
Choosing The Paint
Doors take knocks and are touched constantly, so they need a hard-wearing trim finish rather than ordinary wall emulsion. Satinwood, eggshell and gloss are the usual choices, in decreasing order of how much they hide imperfections and increasing order of how much they show them, because a higher sheen reflects more light and reveals more.
Modern water-based trim paints have largely replaced traditional oil-based gloss for interior doors, and it is worth understanding which products suit the job before you buy. Water-based finishes hold their colour rather than yellowing over time, dry quickly and are lower in odour, which the VOC labelling on the tin reflects. The trade-off is that they dry fast, so they give you less time to brush them out, which is exactly why thin coats and a confident pace matter.
Whichever you choose, stay within one system of primer, undercoat and topcoat, and plan for at least two coats with a light sand between them for a glass-smooth finish.
Edges, Drying And Rehanging
Do not forget the edges. The leading edge that meets the frame, the hinge edge and the top and bottom edges all need painting, and the top edge in particular is easy to miss and collects dust if left bare. On a door between two rooms painted different colours, the convention is that each face takes the colour of the room it faces, which just leaves the edges to think about.
From working with clients who have painted their own doors, closing the door before the paint has fully hardened is the mistake we see most, because the door sticks to the frame and pulls the finish when it is next opened. Leave the door ajar until the paint is properly hard, not just touch dry, and refit the handle only once it has cured. The wait is longer than most people expect, and rushing it undoes the work.
Exterior Doors
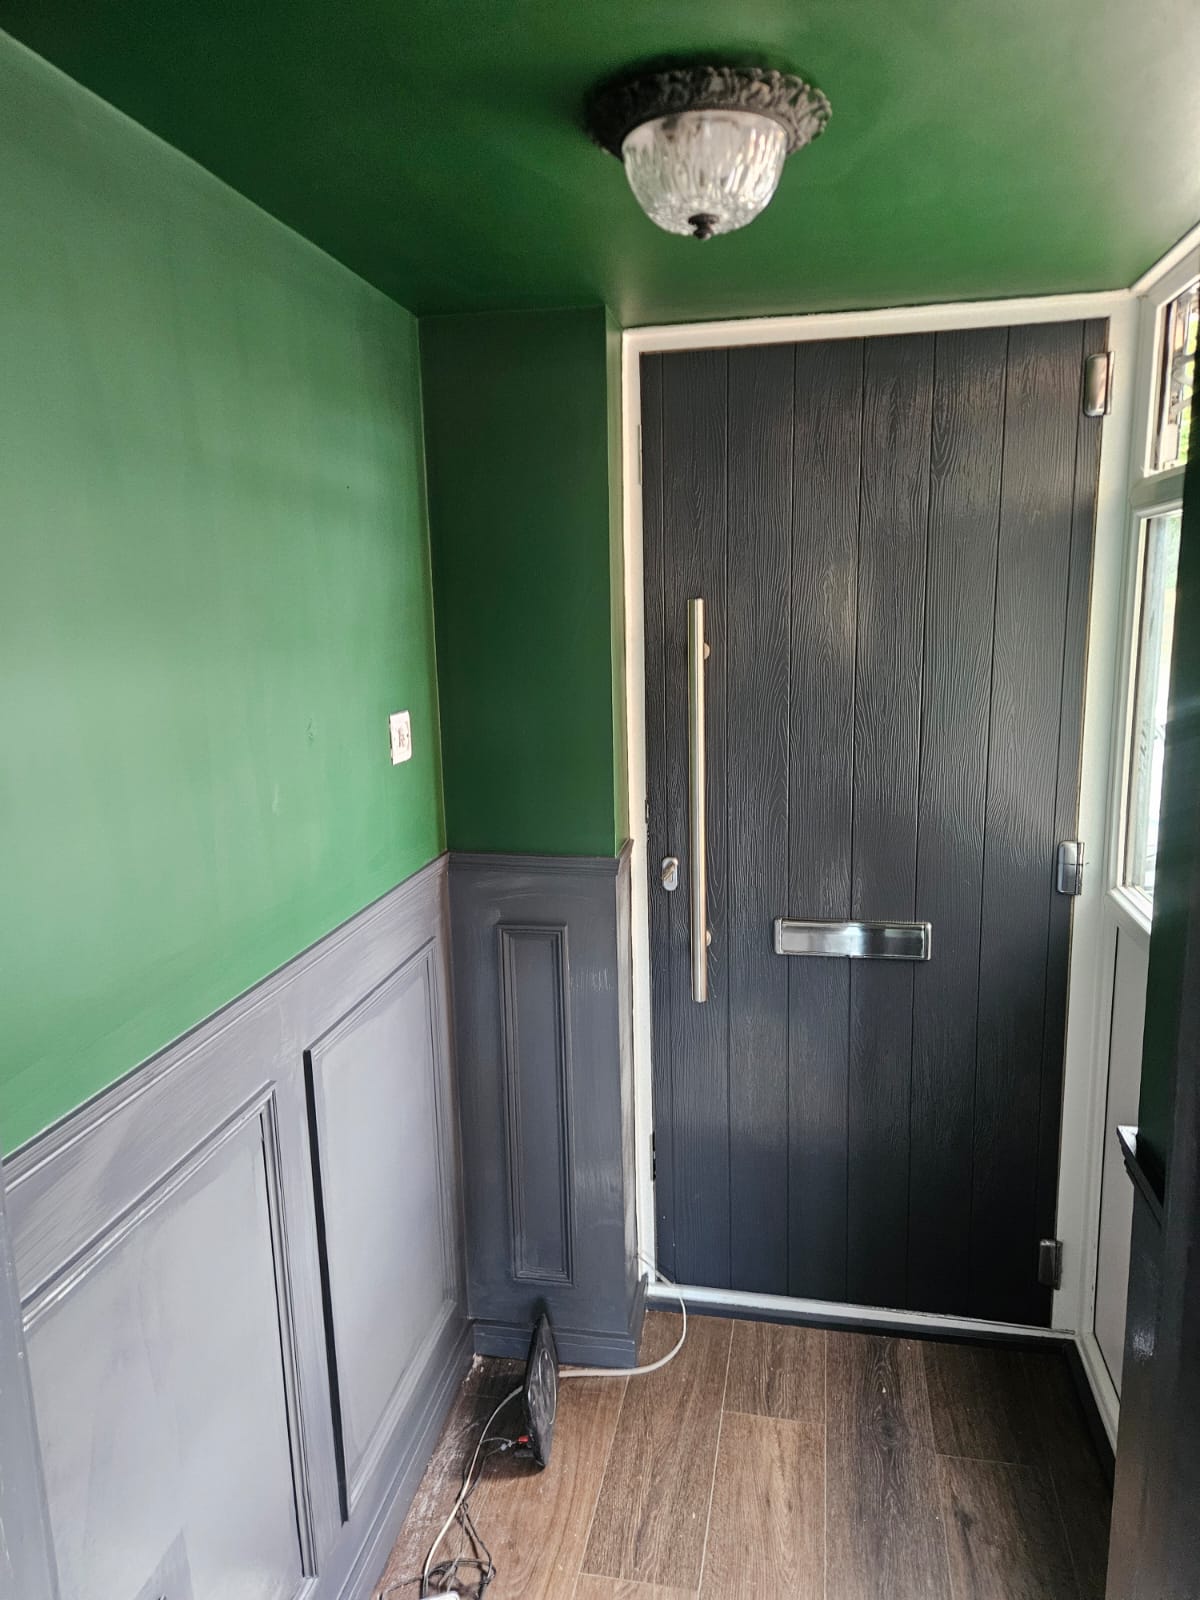
An exterior door faces weather and needs an exterior-grade durable finish, applied out of direct sun and never onto a damp surface. Very dark colours on a door in strong sunlight can get extremely hot, which some finishes do not tolerate well, so it is worth checking the manufacturer’s guidance on colour. A uPVC or composite front door is a different job again, needing specific products rather than standard wood paint, and is often better left to a specialist.
Getting A Professional Finish
Painting doors well is within reach for anyone willing to prepare properly and take their time over thin, evenly laid coats. If you would rather have it done to a flawless standard, or you have a houseful of doors and neither the time nor the drying space, it may be worth handing over.
Our team at A-Z Decorators provides interior decorating throughout Kent, with over 30 years behind us. You can see finished rooms in our gallery, or get in touch for a free, no obligation quotation.