How To Paint Kitchen Cupboards
To paint kitchen cupboards properly, take the doors off, clean every trace of grease from them, key the surface with a light sand, and prime with an adhesion primer before applying two or more thin coats of a hard-wearing cabinet or trim paint. The order is not optional. Kitchen cupboards are the hardest-working painted surface in the house, covered in cooking grease and touched hundreds of times a week, so a coat of ordinary emulsion straight onto a shiny door will peel within weeks.
Done correctly, painting kitchen cupboards transforms a tired kitchen for a fraction of the cost of replacing it, and the results last for years. Done as a quick weekend job with the wrong products, it looks poor almost immediately and has to be redone. The difference is almost entirely in the preparation, not the paint. Our team has been decorating across Kent for over 30 years, and cupboards are one of the jobs where cutting a corner shows up fastest, because everyone opens and closes them every single day.
First, What Are Your Doors Made Of
The right approach depends entirely on what the doors are made from, so it is worth checking before you buy anything.
Solid timber and real wood veneer take paint well once cleaned and keyed, much like any other woodwork. Painted or sprayed MDF doors, common on shaker-style kitchens, also take paint well but need an MDF-appropriate primer on any bare edges. The difficult ones are melamine, laminate and foil-wrapped doors, which are a thin plastic surface over a board core. These are non-porous and specifically designed to resist things sticking to them, which is exactly the problem when you want paint to stick. They can be painted successfully, but only with the right primer.
If you are not sure which you have, a door that feels like cold, smooth plastic and has a slight sheen is almost certainly melamine or foil-wrapped rather than wood.
Take The Doors Off And Degrease Everything
Painting cupboards in place never looks as good as painting them properly, so take the doors and drawer fronts off and work on them flat where you can.
Number each door and its hinges as you remove them, and take off the handles and knobs completely. Then clean everything, and this is the step that matters most. Kitchen cupboards carry a film of cooking grease that builds up invisibly over years, especially around handles and near the hob, and paint will not bond to a greasy surface no matter how good it is. We’ve found that failed cupboard paint is caused more often by grease left on the doors than by any other single thing. Wash every surface thoroughly with sugar soap or a proper degreaser, rinse it, and let it dry completely before going near it with sandpaper.
Key The Surface And Prime It
Once the doors are clean, they need keying and priming, and on kitchen units this is where success or failure is decided.
Give every surface a light sand to take the sheen off and create a key for the primer to grip. You are not trying to sand back to bare board, just to dull the shine. Wipe away every trace of dust afterwards.
Then prime, and choose the primer to suit the surface. In our experience, a dedicated adhesion primer works better than an all-purpose primer on melamine and factory-finished cupboard doors because the surface is non-porous and built to resist adhesion, so a standard primer sits on top and lifts at the first knock, whereas an adhesion primer bonds to the slick surface and gives the topcoat something solid to hold onto. On solid wood and MDF a good general primer or undercoat is usually enough, but on anything plastic-faced the specialist primer is not something to skip. Some primers of this type are solvent or shellac based and give off strong fumes, so work with the windows open and follow the handling guidance, particularly in an enclosed kitchen.
Choosing And Applying The Paint
Cupboards need a paint built to take knocks, wipes and constant handling, so ordinary wall emulsion is not up to the job. A hard-wearing cabinet paint, or a durable trim finish such as a satinwood or eggshell, is what stands up over time. It is worth understanding which products suit the job before you commit, because the paint has to cure to a tough, washable finish rather than staying soft.
Apply it in thin coats rather than one thick one, because thick paint on a cupboard door runs, sags and takes far longer to harden. Two or three thin coats with a light sand between them give a smoother, tougher result than a single heavy coat ever will. A small foam or mohair roller on the flat areas, laid off with a brush, keeps the texture even, while a brush handles the detail and any mouldings, using the same unhurried approach that gets a smooth finish on any door.
The best possible finish on cupboard doors comes from spraying, which leaves no brush marks at all, though it requires proper equipment and careful masking. For most people a brush and roller, used patiently, give a very good result.
Let It Cure Before Heavy Use
This is the part people rush, and it undoes the work.
From working with clients who have painted their own kitchens before calling us, the most common mistake after the painting itself is putting the kitchen back into full use too soon. Cabinet and trim paints are touch dry within hours but take considerably longer, sometimes a few weeks, to cure to full hardness. During that period the finish is soft and easily marked, so refit the doors carefully, avoid slamming them, and do not stack heavy items against freshly painted surfaces or line shelves straight away. Treat it gently at first and it will harden into a finish that lasts.
New Handles Finish The Job
While the doors are off and the hardware is already removed, it is the ideal moment to update the handles and knobs. New handles cost little, take minutes to fit, and change the look of a repainted kitchen more than almost anything else for the money. If the new handles have different fixing centres you may need to fill and redrill, which is far easier done now than later.
Is It Worth Doing Yourself
Painting kitchen cupboards is achievable at home for anyone prepared to do the preparation properly and wait for the paint to cure. It is also fiddly, time-consuming, and unforgiving if the surface is not prepared correctly, which is why it is one of the jobs people most often ask a professional to take on.
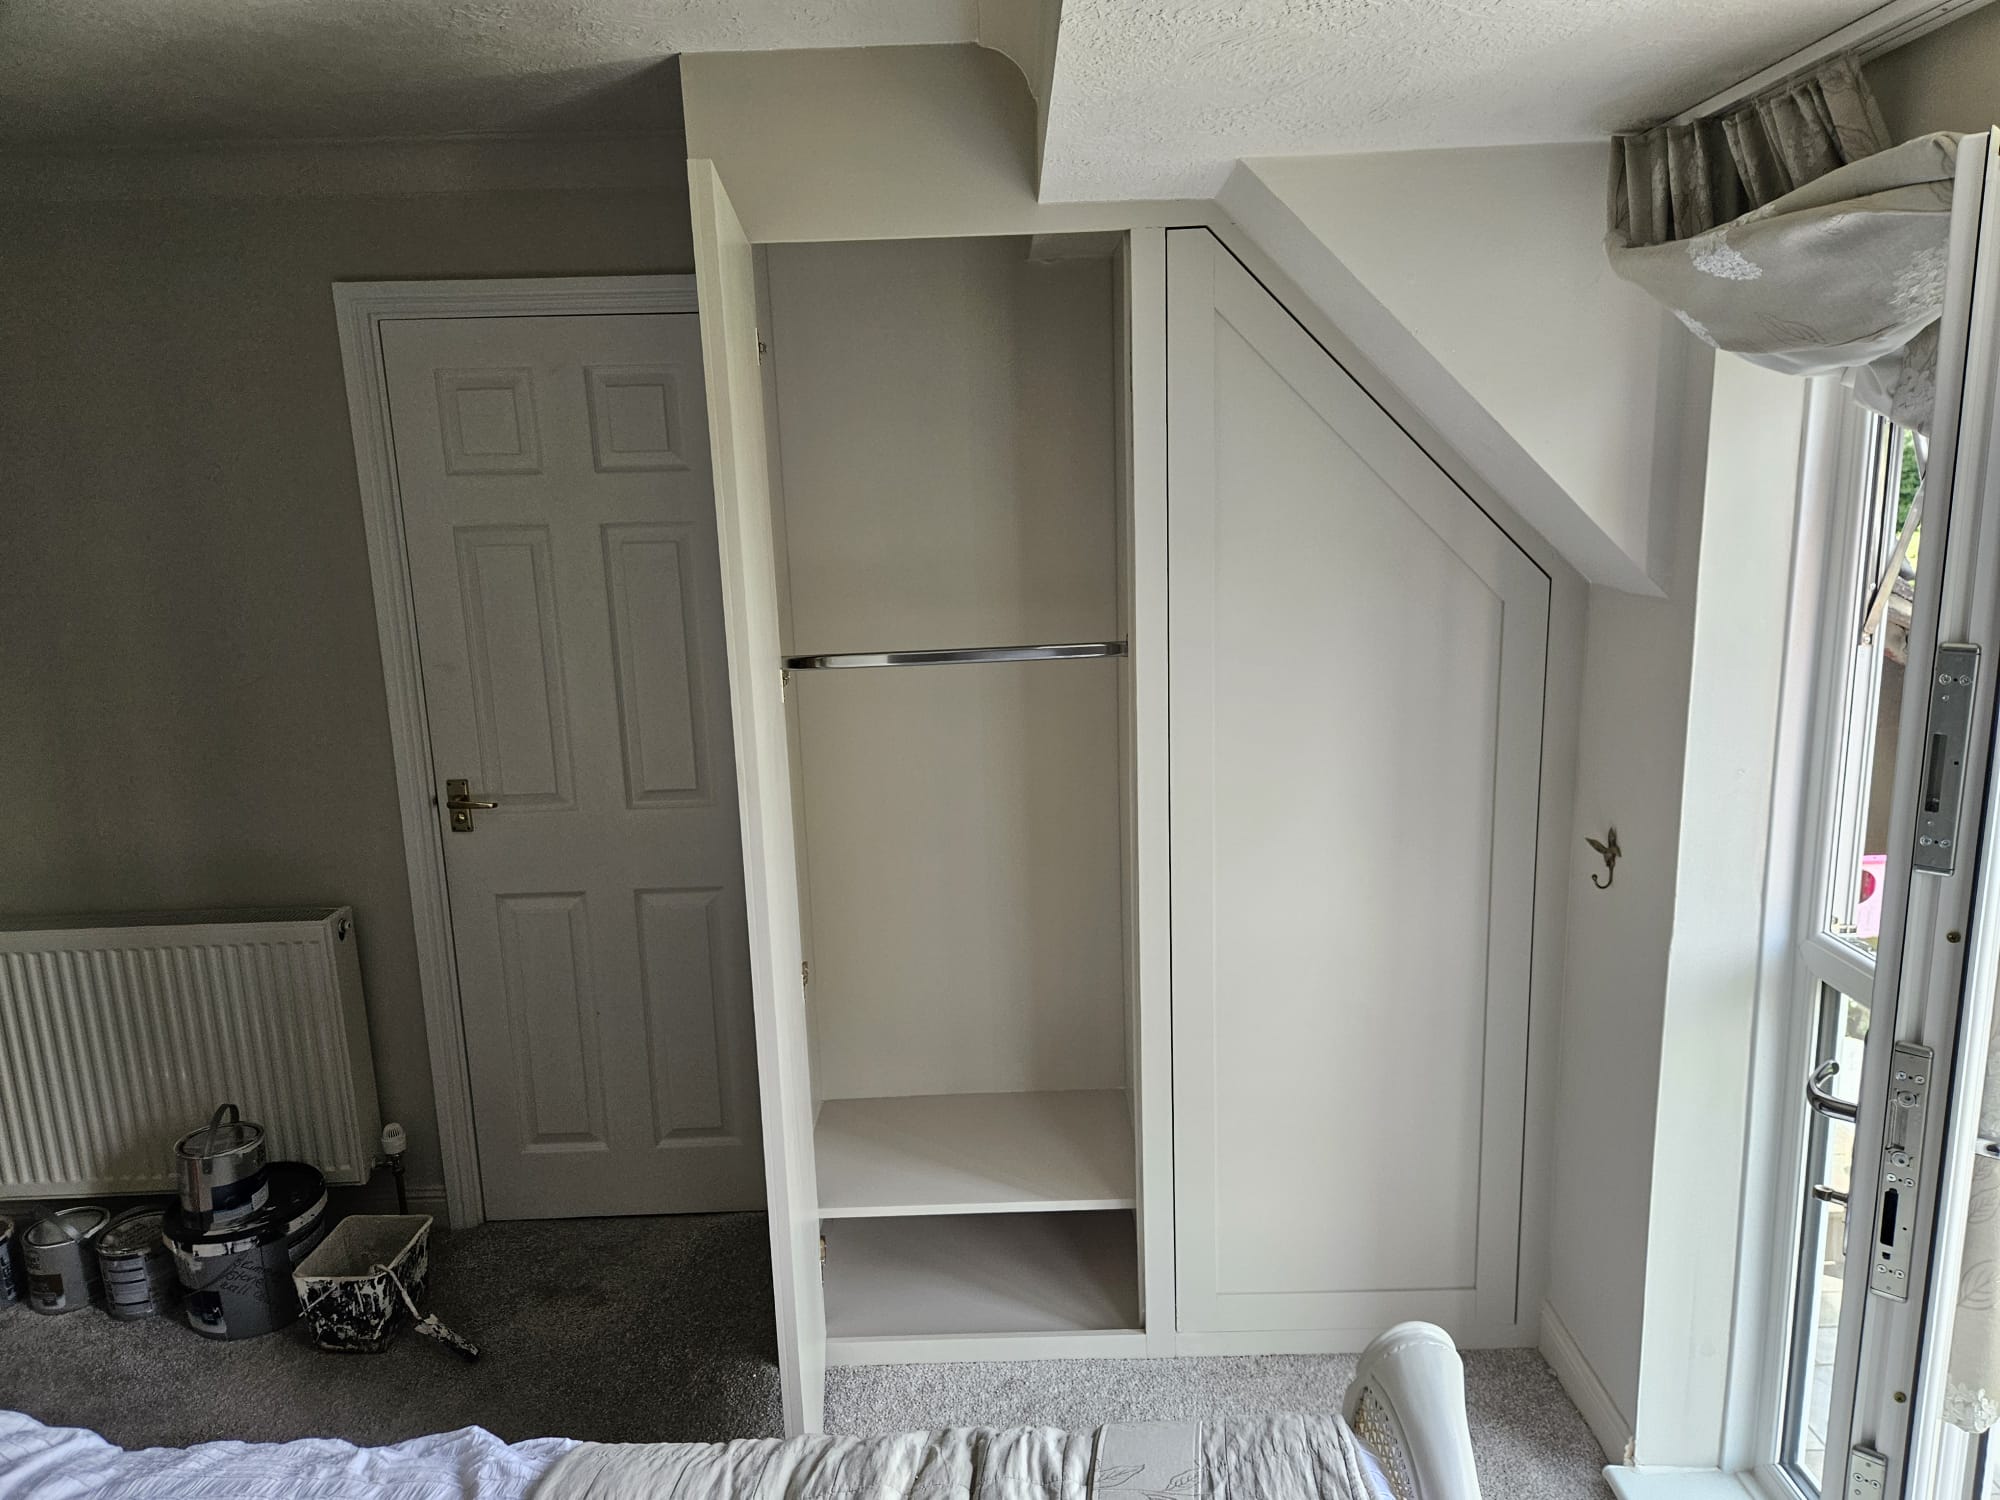
If you would rather have it done to a durable, factory-smooth standard, our team at A-Z Decorators offers interior decorating and furniture painting throughout Kent, with over 30 years behind us. You can see finished work in our gallery, or get in touch for a free, no obligation quotation.